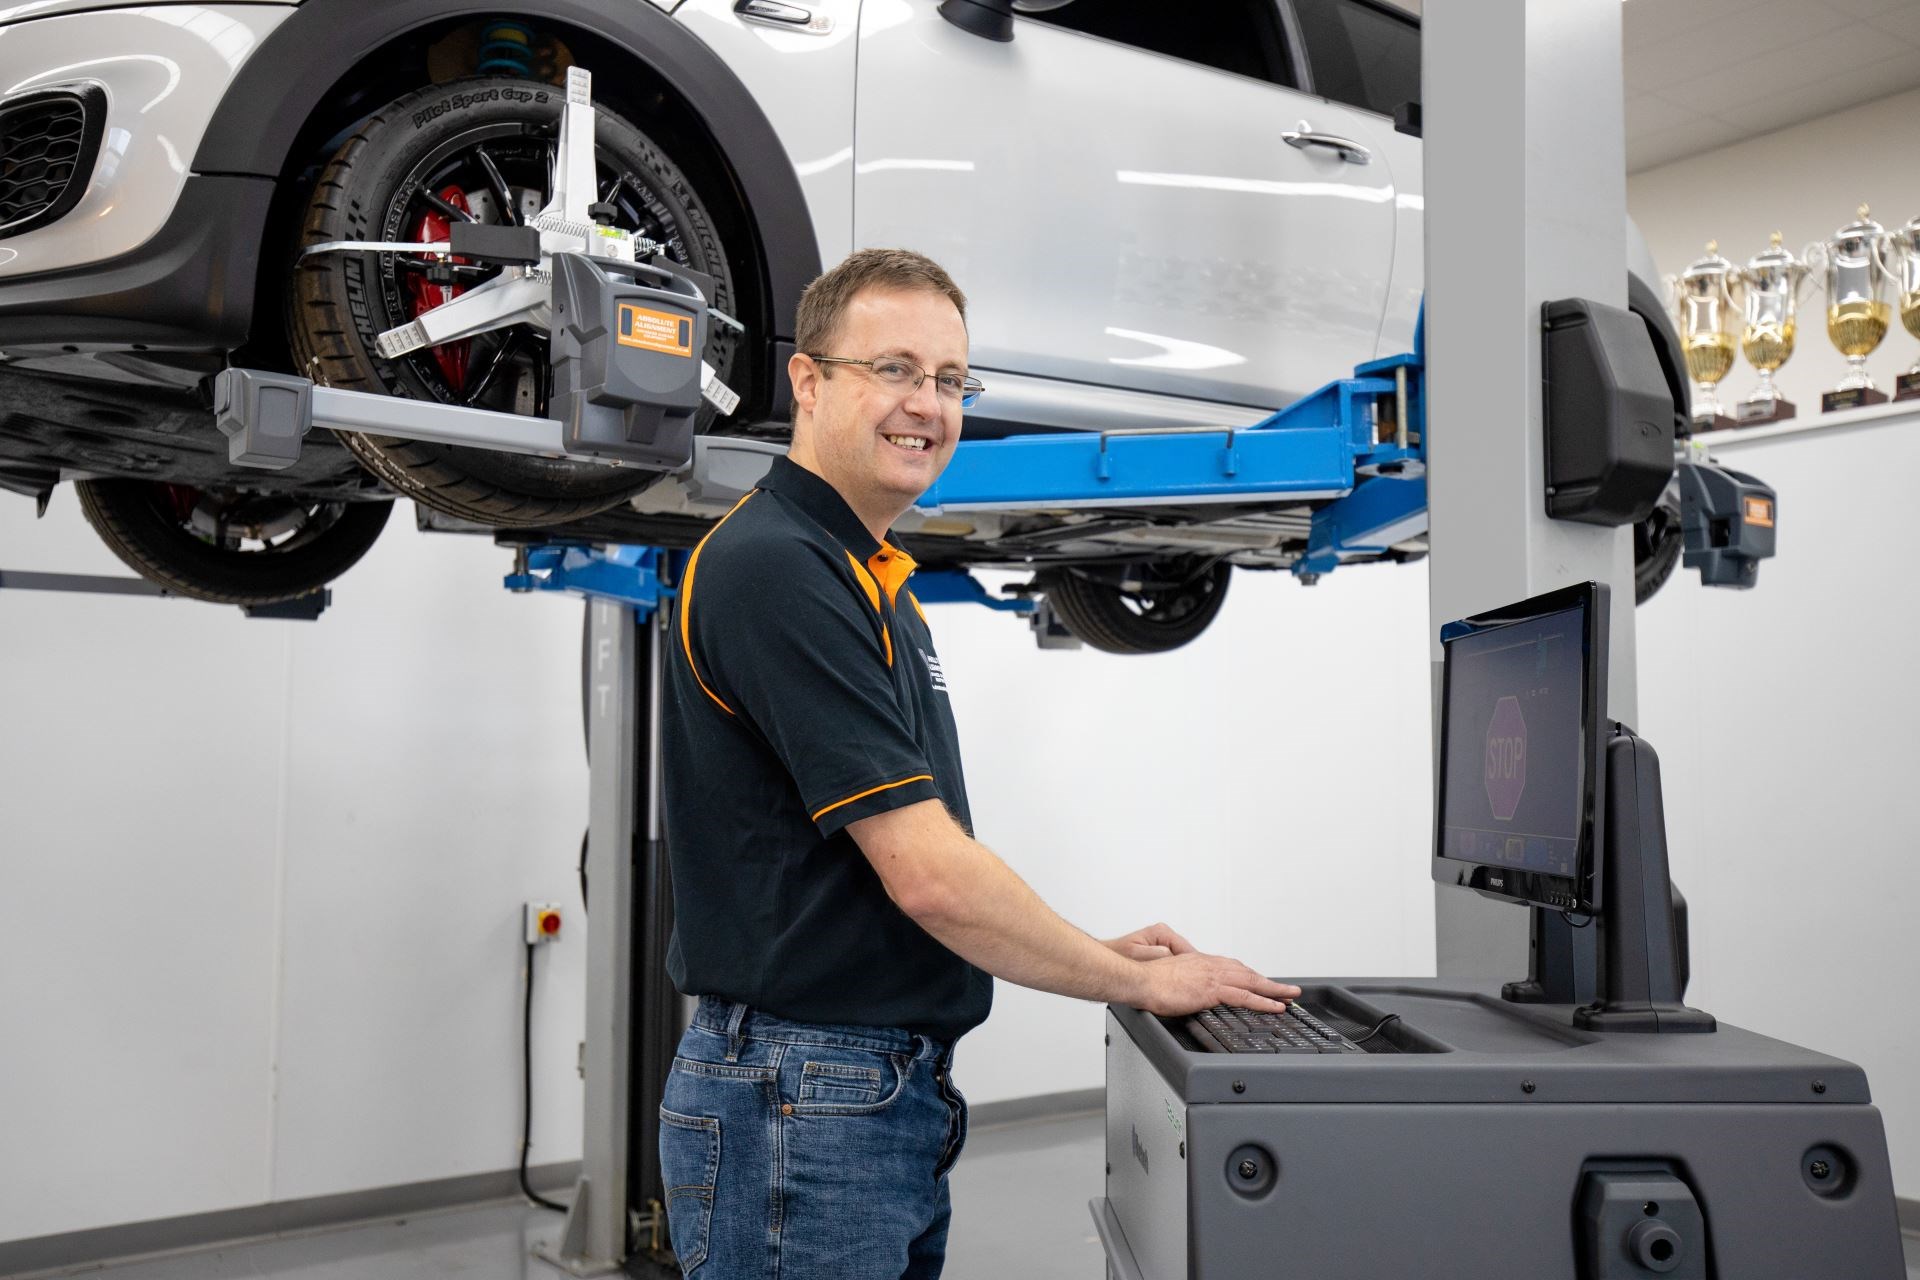
Absolute Alignment has been in the vanguard of wheel alignment equipment for many years, and recently has seen a huge rise in the use of its popular Bluetooth range on 2-post lifts so we have produced this 2 Post Alignment Best Practice Guide. As this opens up wheel alignment as a profit centre for workshops without dedicated four-post lifts, it’s important that the correct procedures are followed.
STEP 1 – Pre-Check
This is common to all alignments, not just those using 2-post lifts. In a busy workshop, it’s important that care is taken to ensure there are no obvious problems with the vehicle that could cause an inaccurate reading. The checks include:
- Play in suspension bushes
- Visible damage
- Tyre pressures
Part of the Pre-Check should also be a scan for ADAS using a suitable diagnostic tool. The consequences of for example re-aligning the thrust angle and not checking the calibration of ADAS sensors could create problems. Alignment must be completed before ADAS calibration is carried out – a further profit opportunity for astute workshops.
STEP 2 – PREPARE VEHICLE FOR ADJUSTMENT
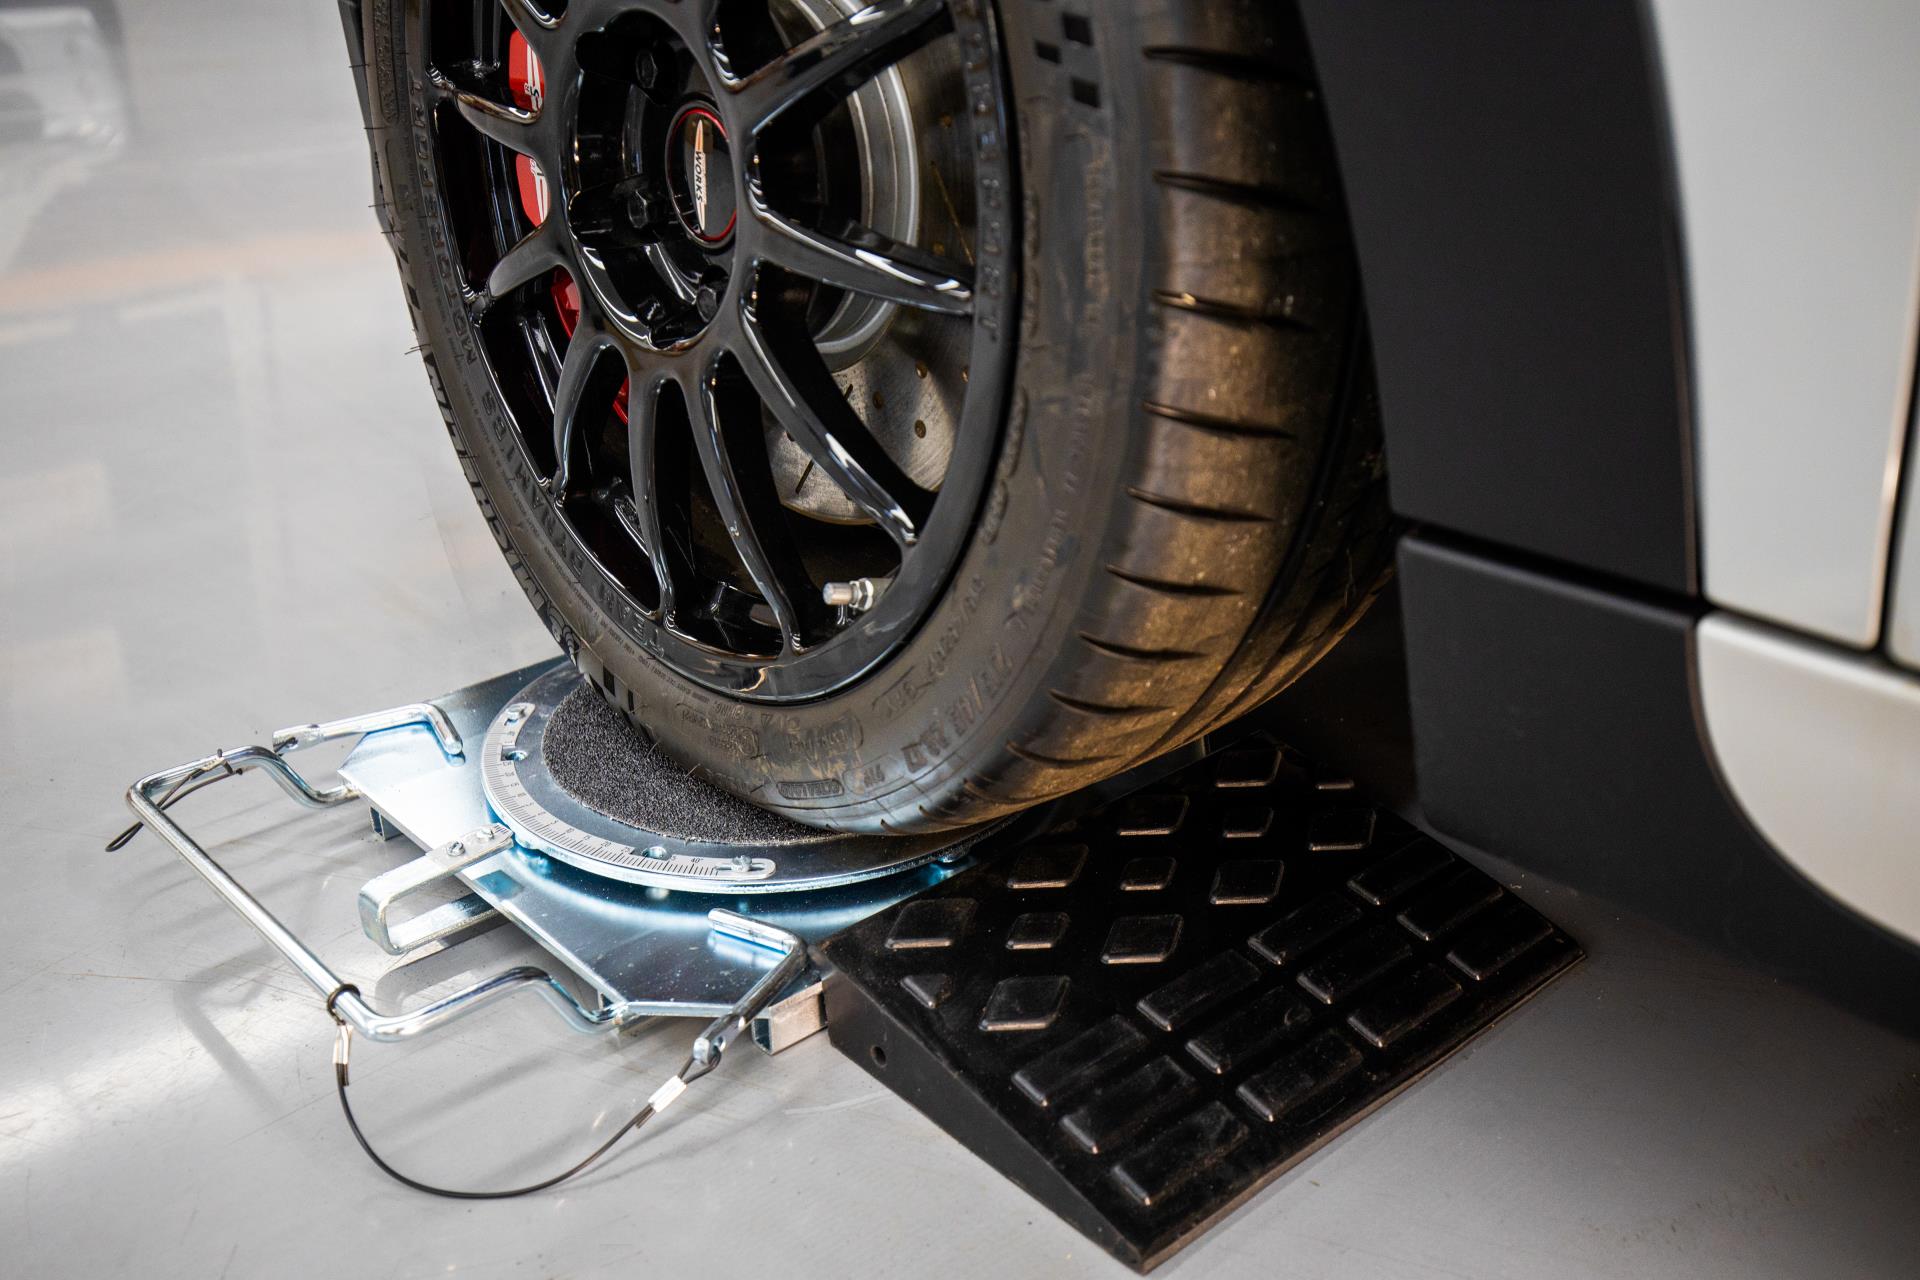
- Drive vehicle onto front turn plates
- Select vehicle from database, or use a registration lookup like Absolute Alignment’s Shoot & Go option to save time
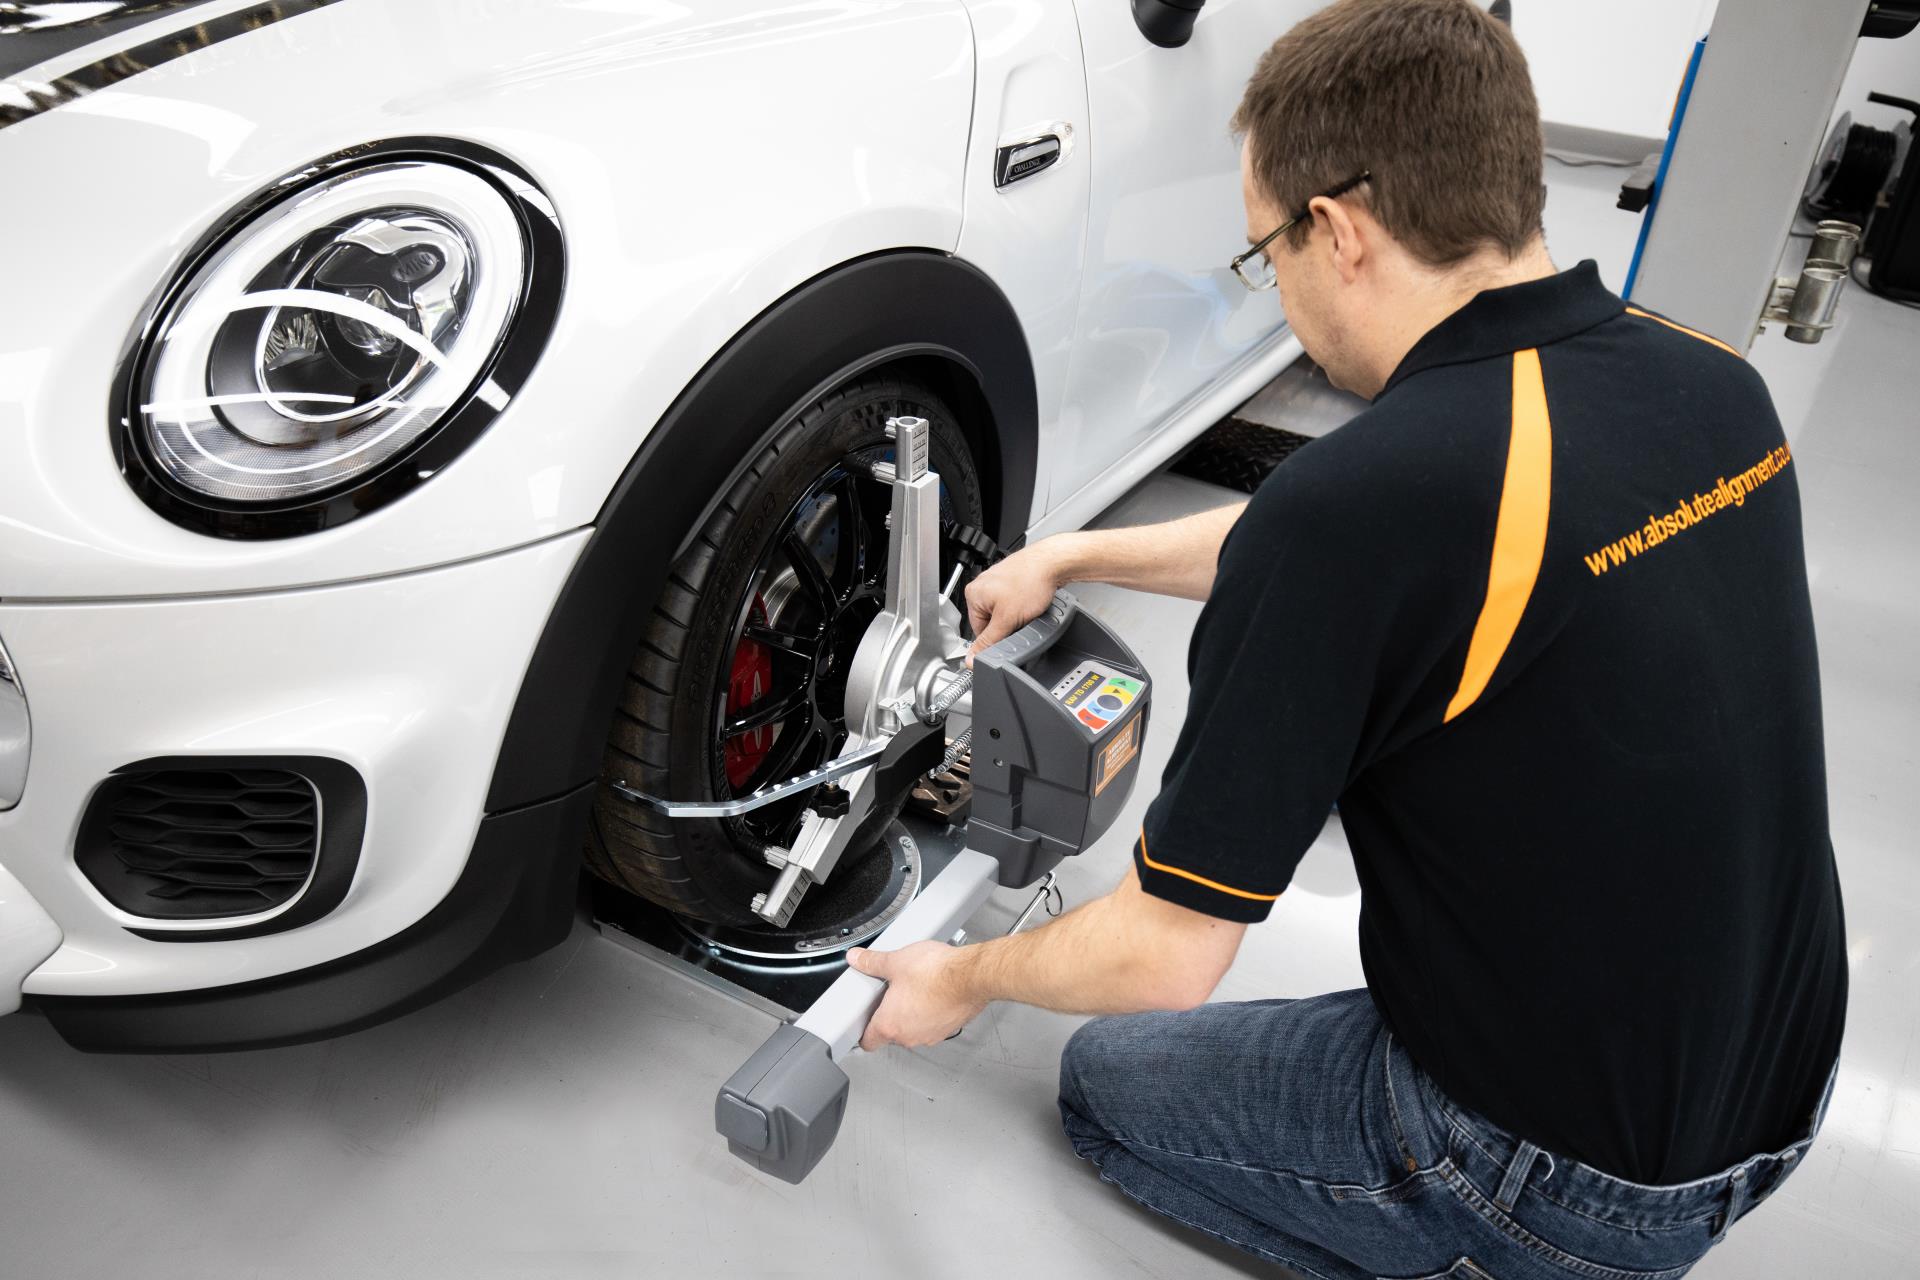
- Attach 3-point Pro Wheel Clamps. These clamps avoid metal to metal contact, and care should still be taken to avoid damage on rims
- Attach alignment heads to wheels
- Following the on-screen instructions, remove the locking pins from the turnplates and perform 10-degree caster swing from left to right
- This gives the “before” readings
- Start engine whilst steering wheel is straight– starting the engine is vital to balance the fluid in the power steering system ready for the next stage
- Switch off engine and lock steering wheel in straight ahead position
- Freeze readings and raise vehicle to working height
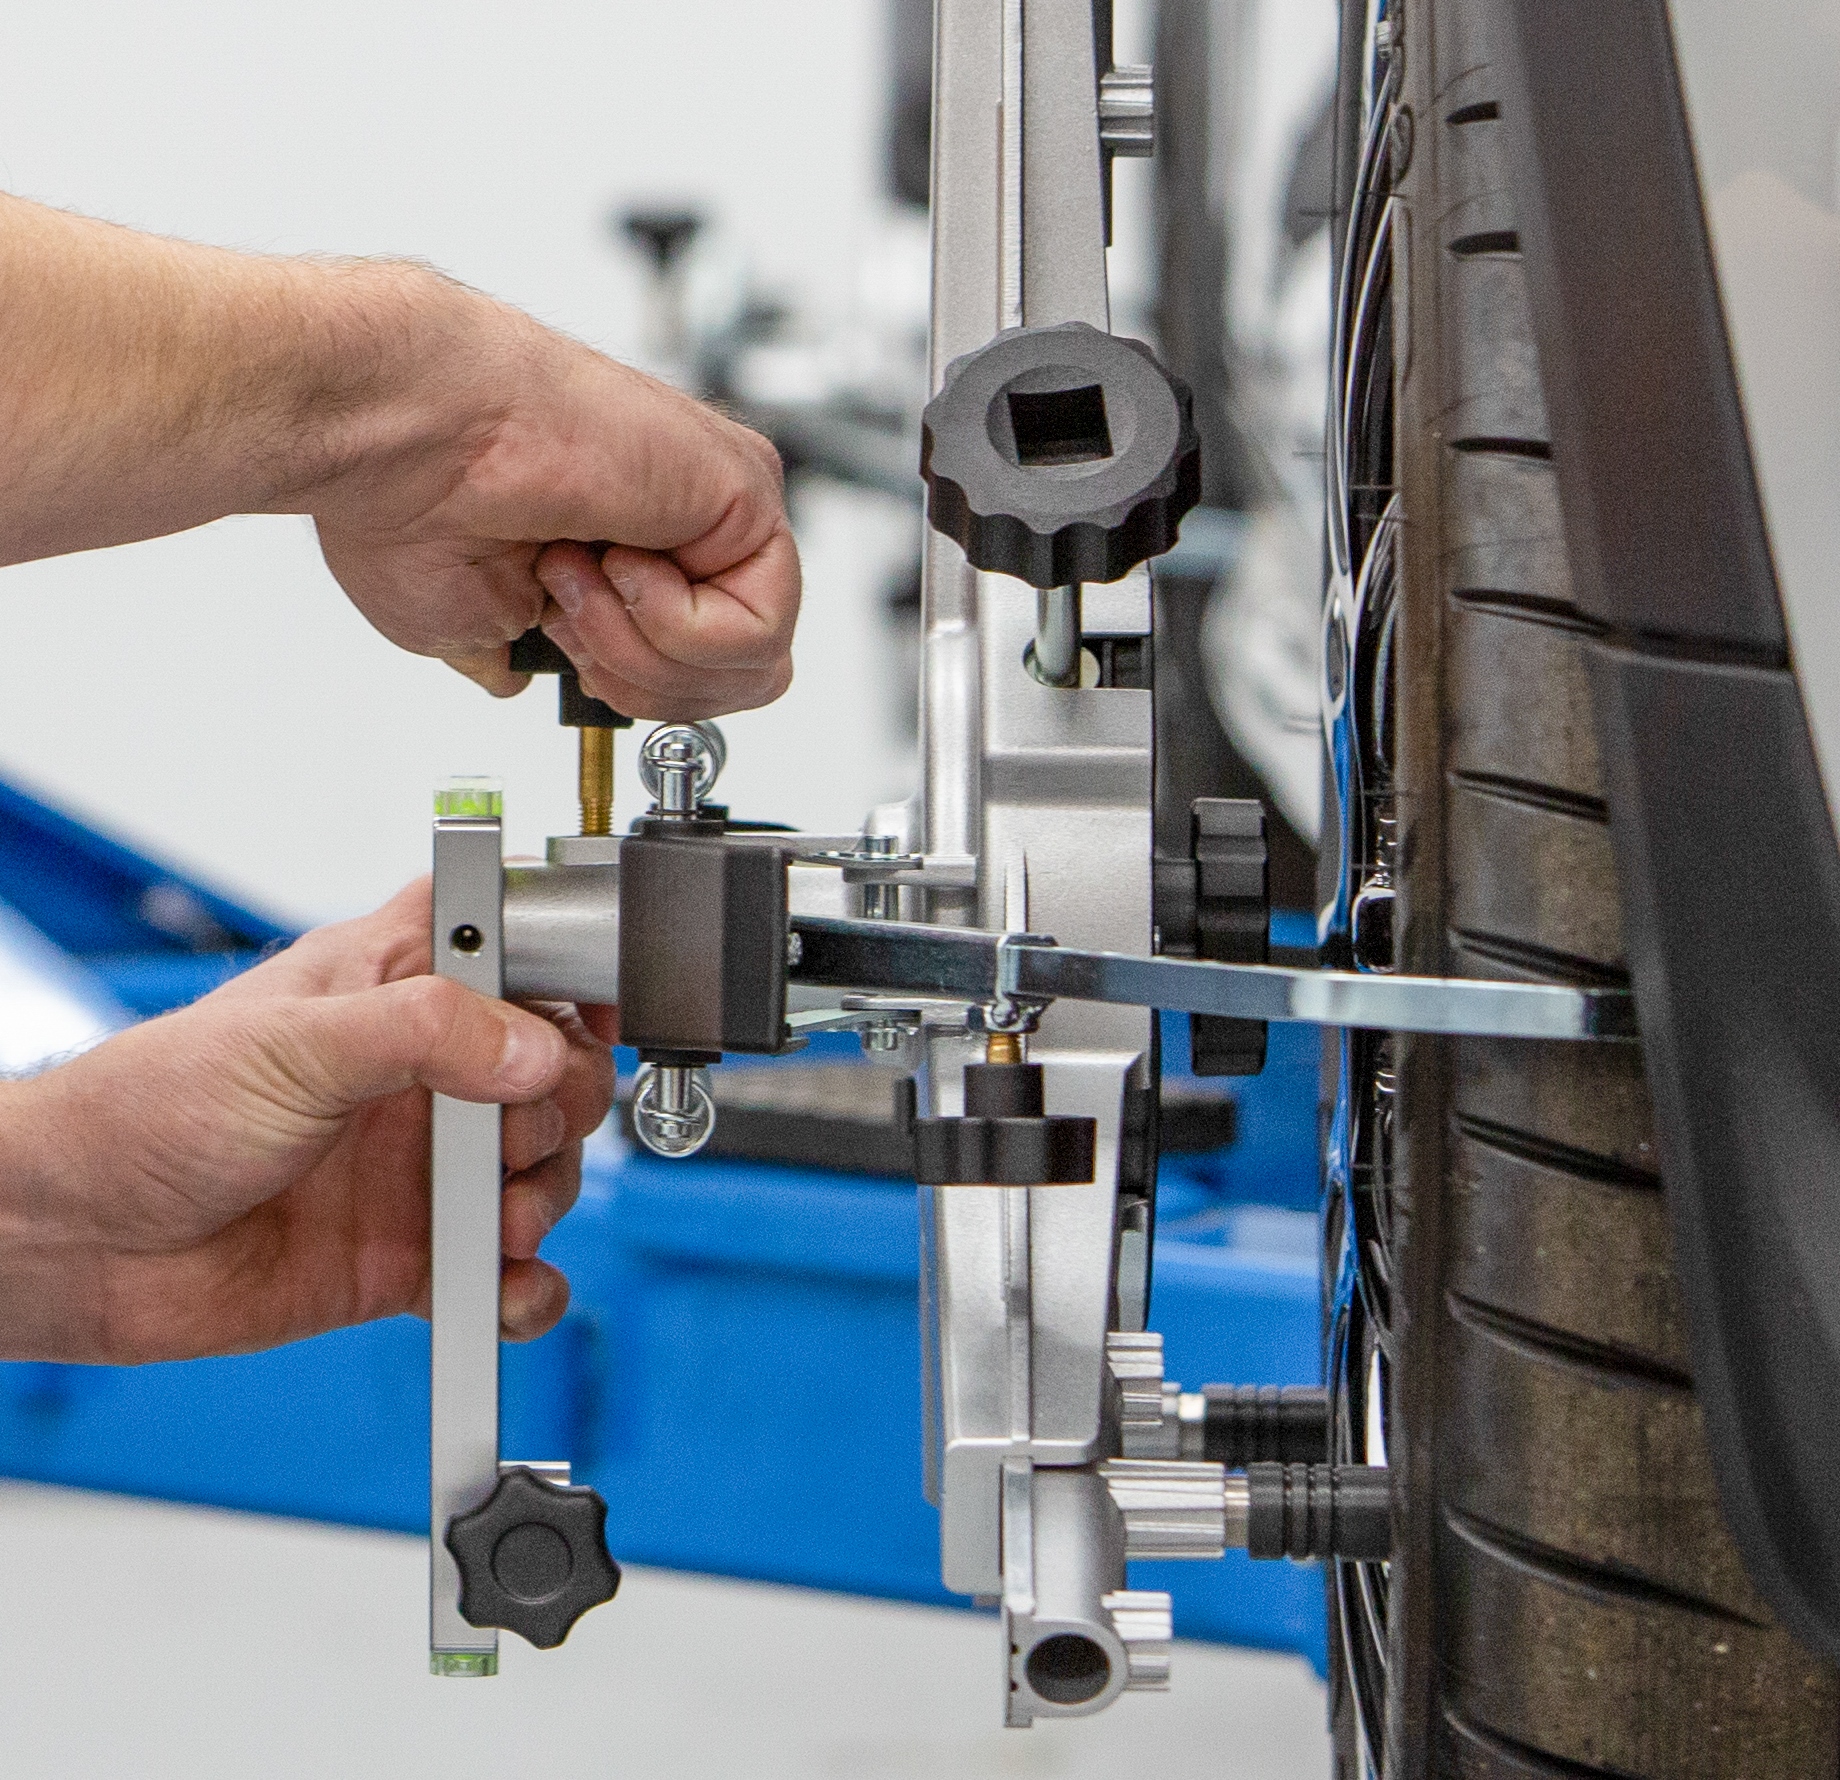
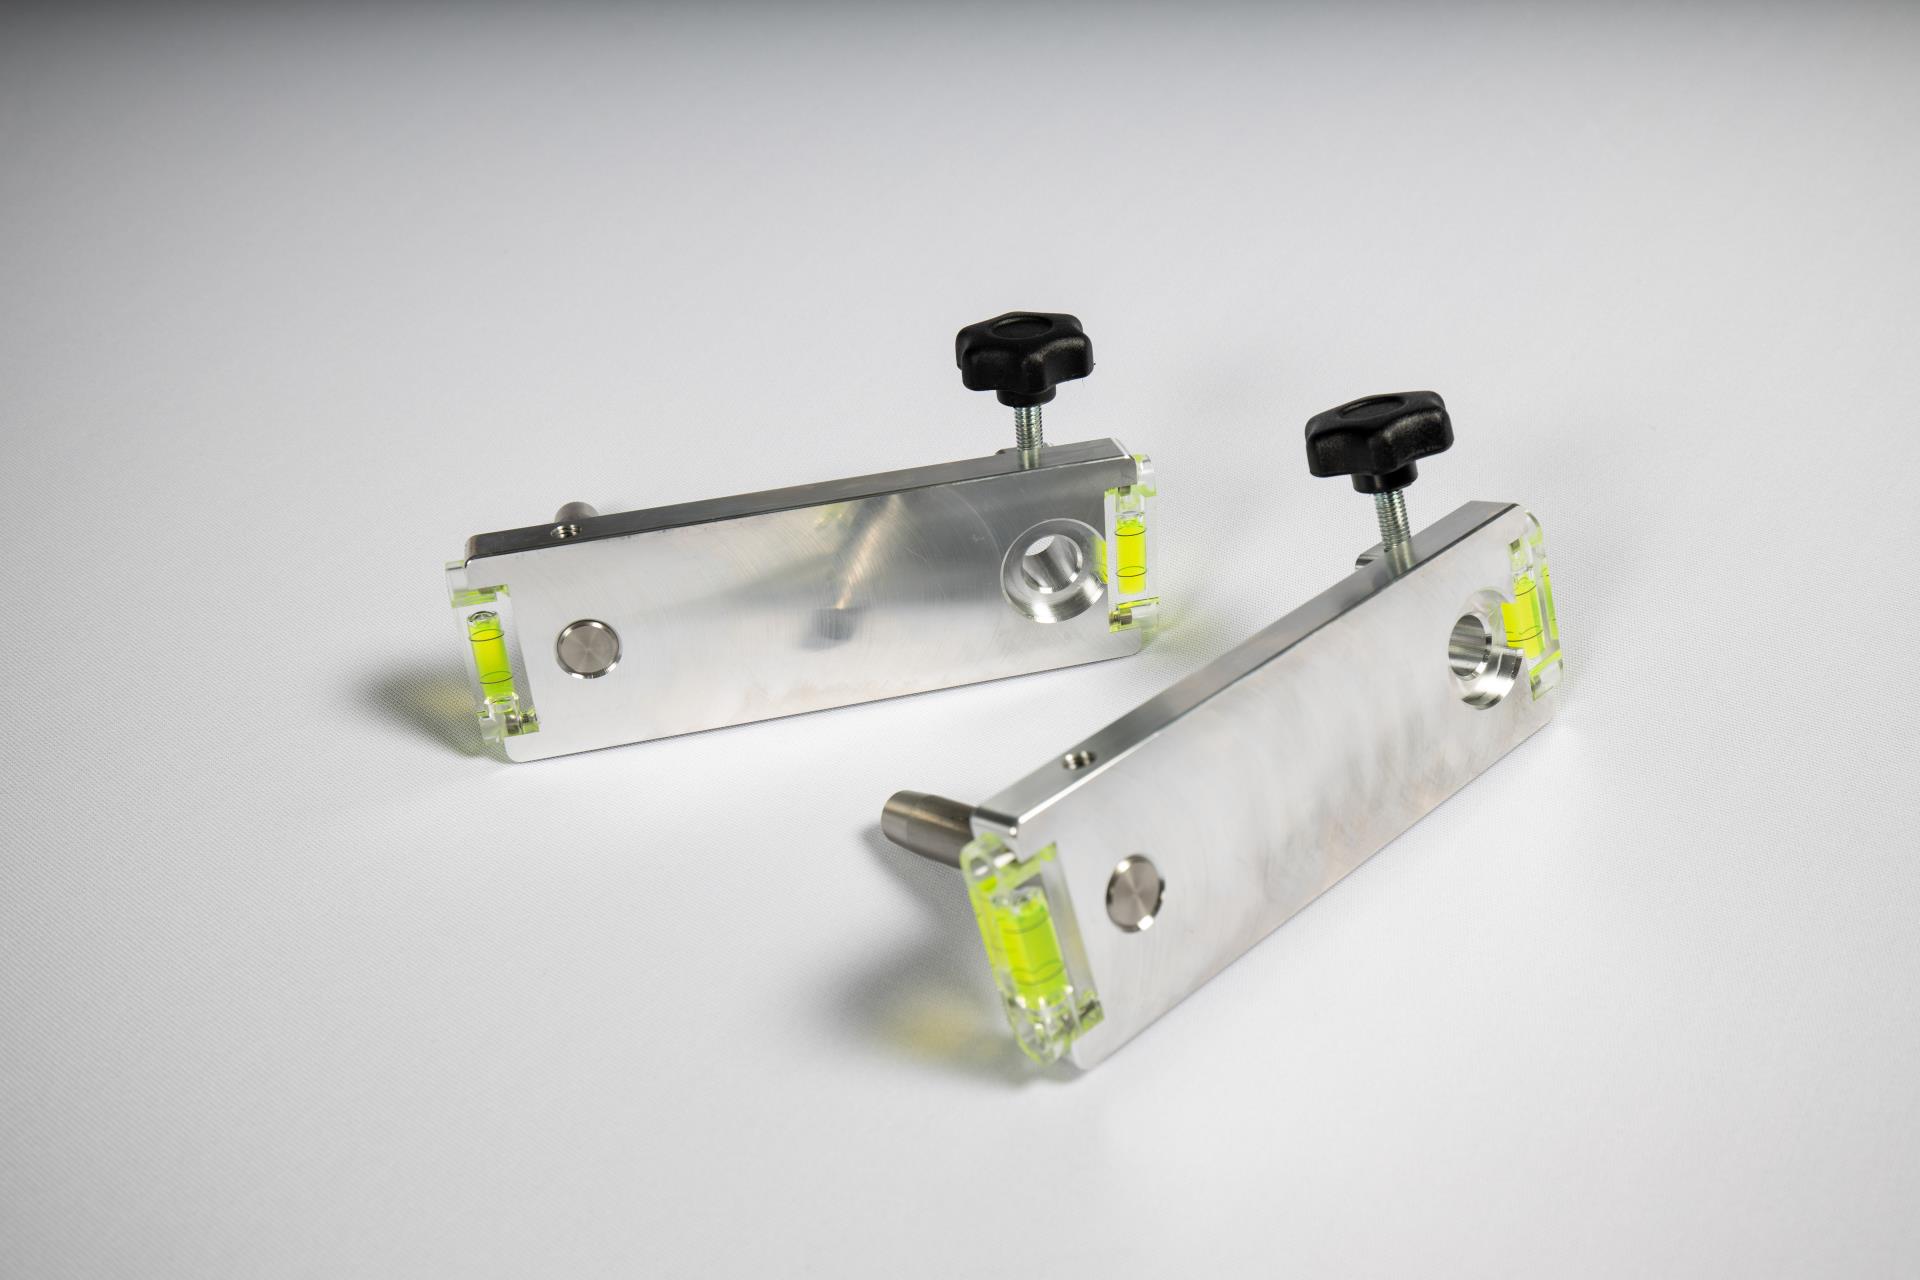
- Add 2-post drop brackets, ensuring they are level
- Continue up to adjustment height
STEP 3 – ADJUSTMENT
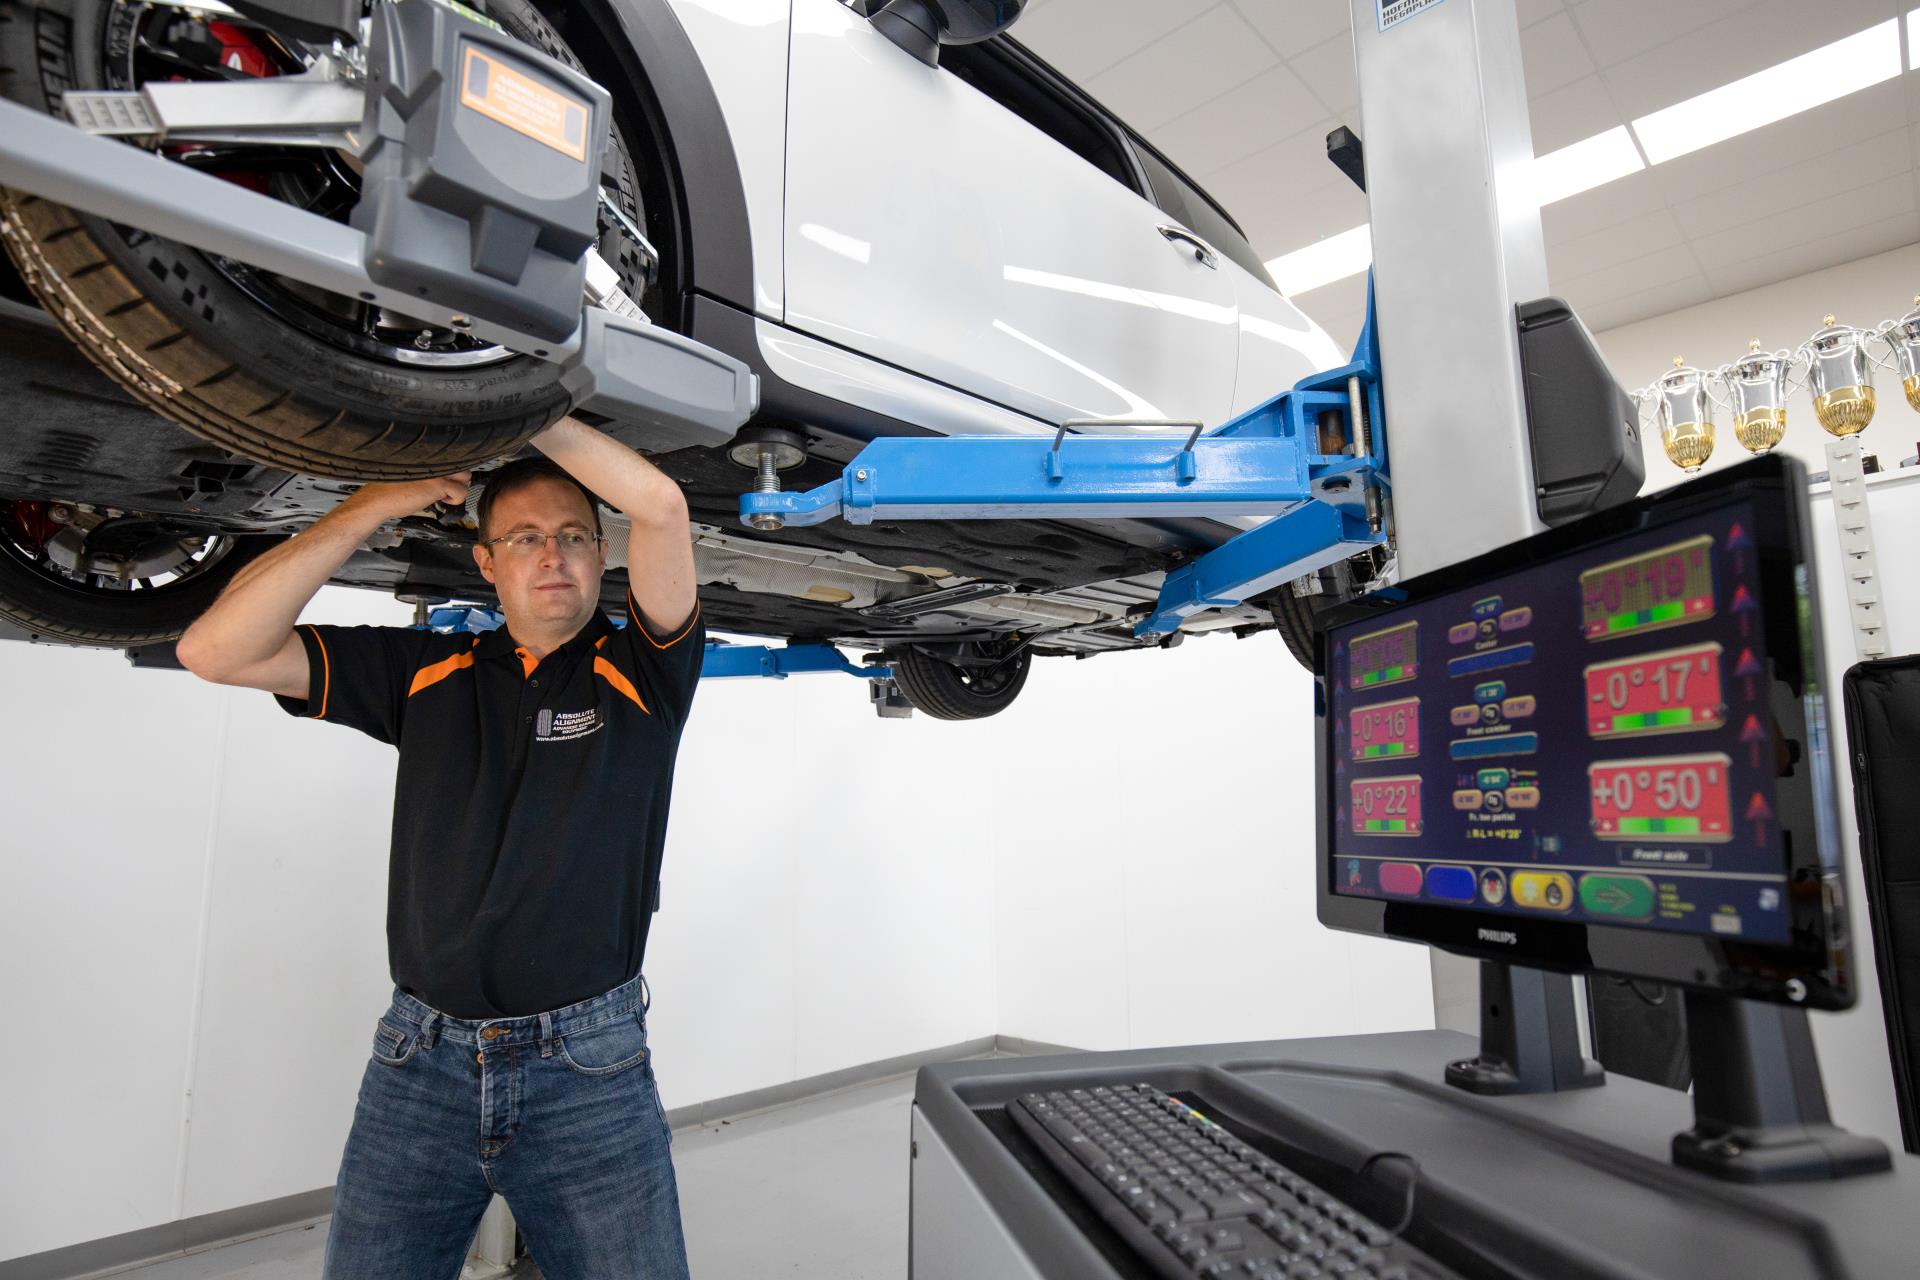
- Unfreeze readings – do not do this until vehicle at full adjustment height
- Adjust until all figures are correct and within the manufacturer tolerance. This will show green on both the live adjustment screen and the full colour print out
- Note preferred adjustment order:
- Rear axle first – camber then toe as available to adjust
- Front axle second – caster, camber then toe
- Refreeze readings
- Drop vehicle to floor and remove measuring heads and clamps
- Print report and hand to customer
Four-wheel alignment can be a new profit centre for many workshops, even if they don’t have access to a dedicated four post alignment bay. A 2-post lift is suitable for the task as long as professional help is sought when selecting the right equipment. Absolute Alignment is on hand every step of the way from initial advice through installation and training to make sure the latest technology works for every workshop. Call the Technical team on 01252 549340 or enquire online at www.absolutealignment.co.uk
Miss Alignment
February 2021